

A tenant is an isolated workspace that contains projects, users, and configuration. Every action in the Authdog console happens inside a tenant. This is the first page you see after signing in if you haven't selected a tenant yet.
Tenant list
The header reads "Tenants" with the subtitle "Join, Create or Request access to a Tenant." You can switch between a cards view and a table view using the toggle in the top-right corner.
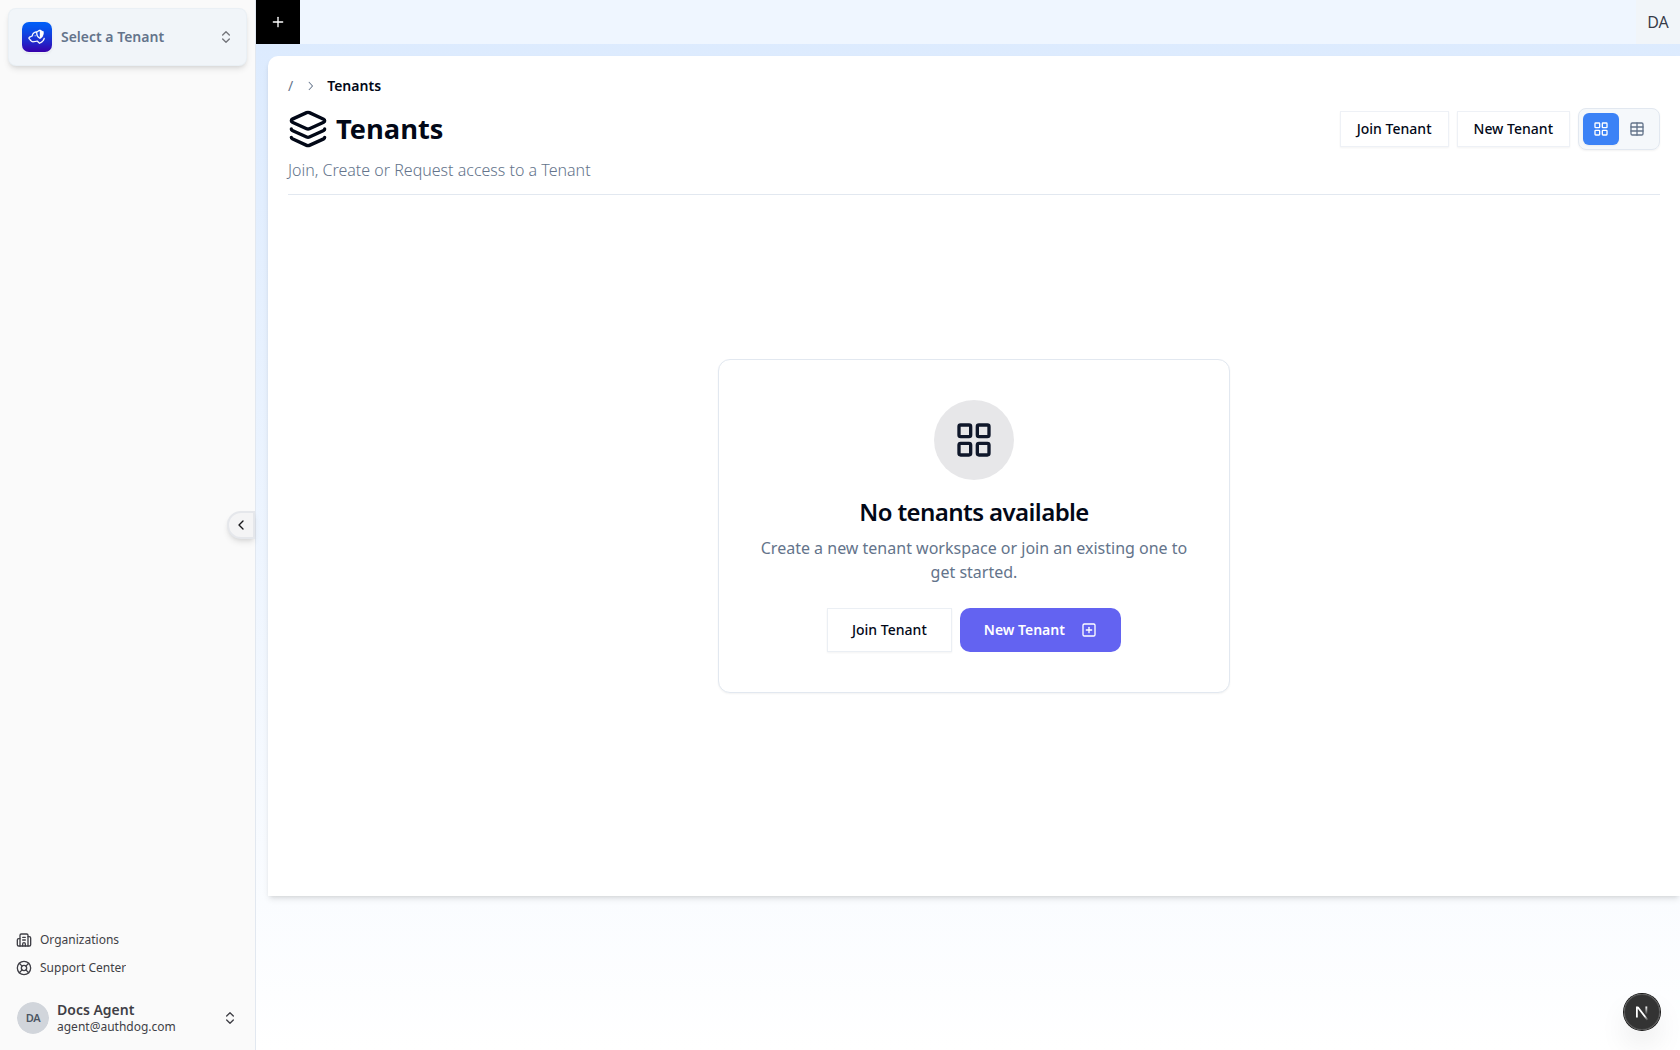
Each tenant card shows:
- Tenant name and ID
- Description (if set)
- Plan label (e.g. "Free Plan")
- Number of projects
- Last-updated date
Click a tenant card to select it and navigate to the Projects hub.
Create a new tenant
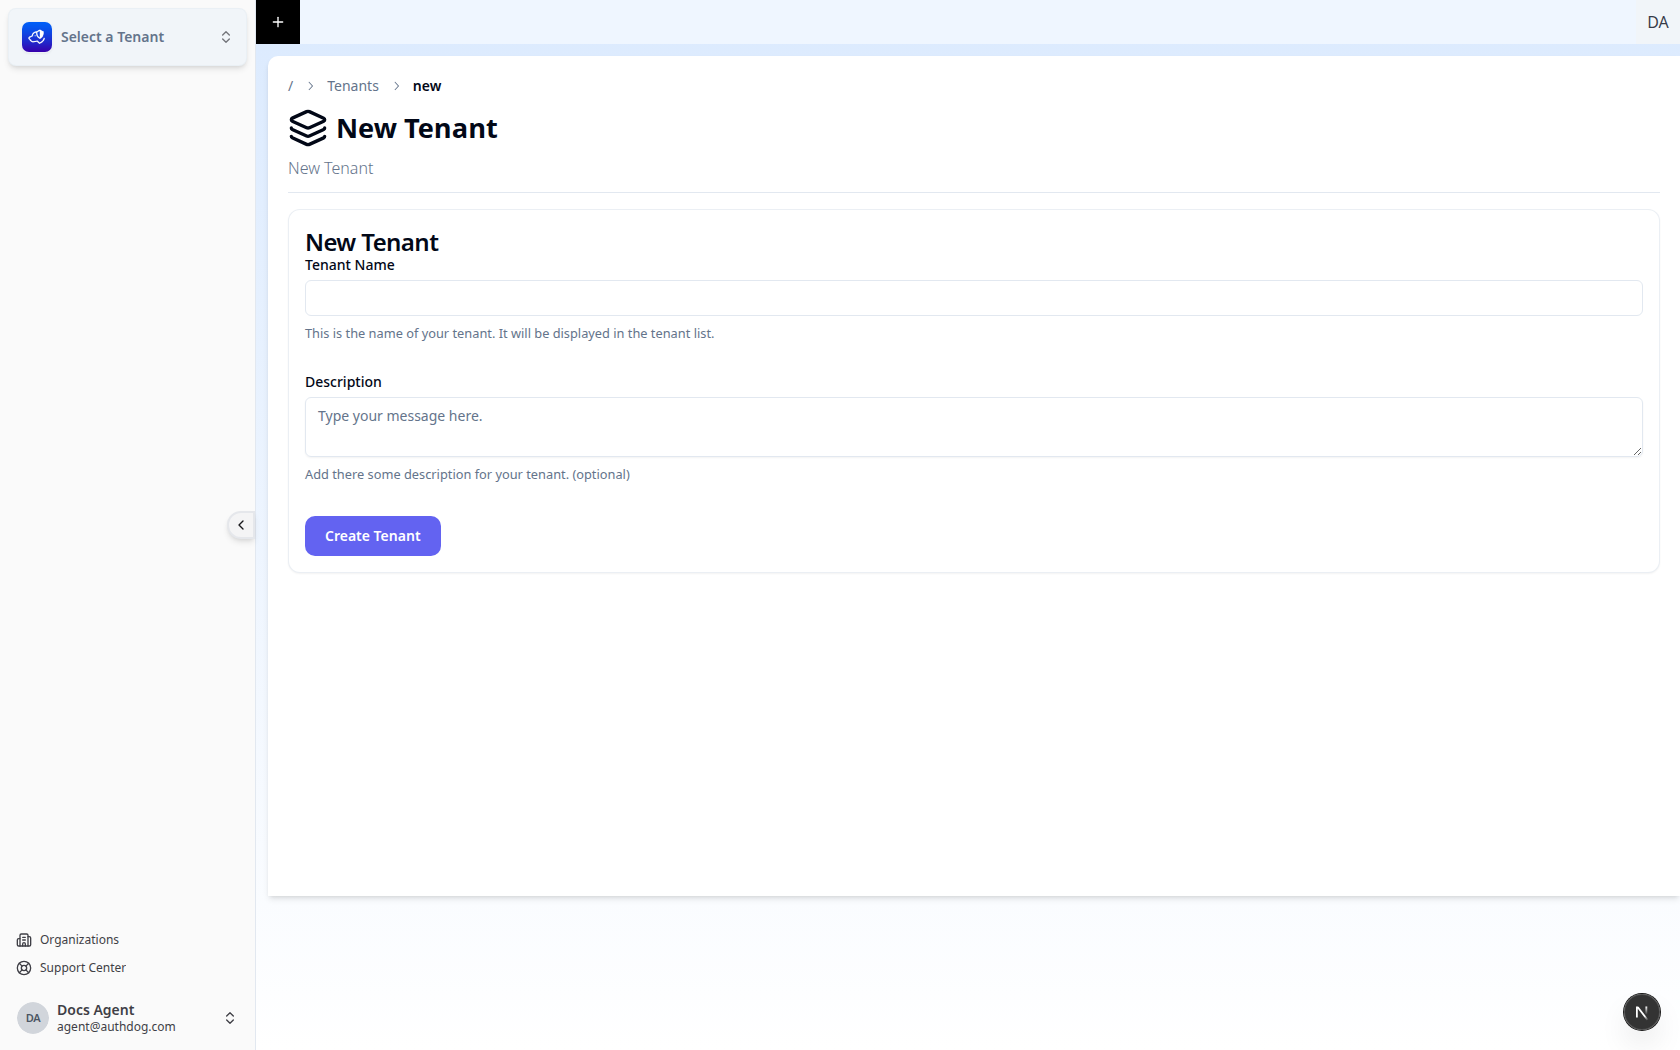
Click "New Tenant" to create a fresh workspace. The form asks for a tenant name and an optional description. Use separate tenants to isolate production, staging, and development environments, or to separate different products.
Join an existing tenant
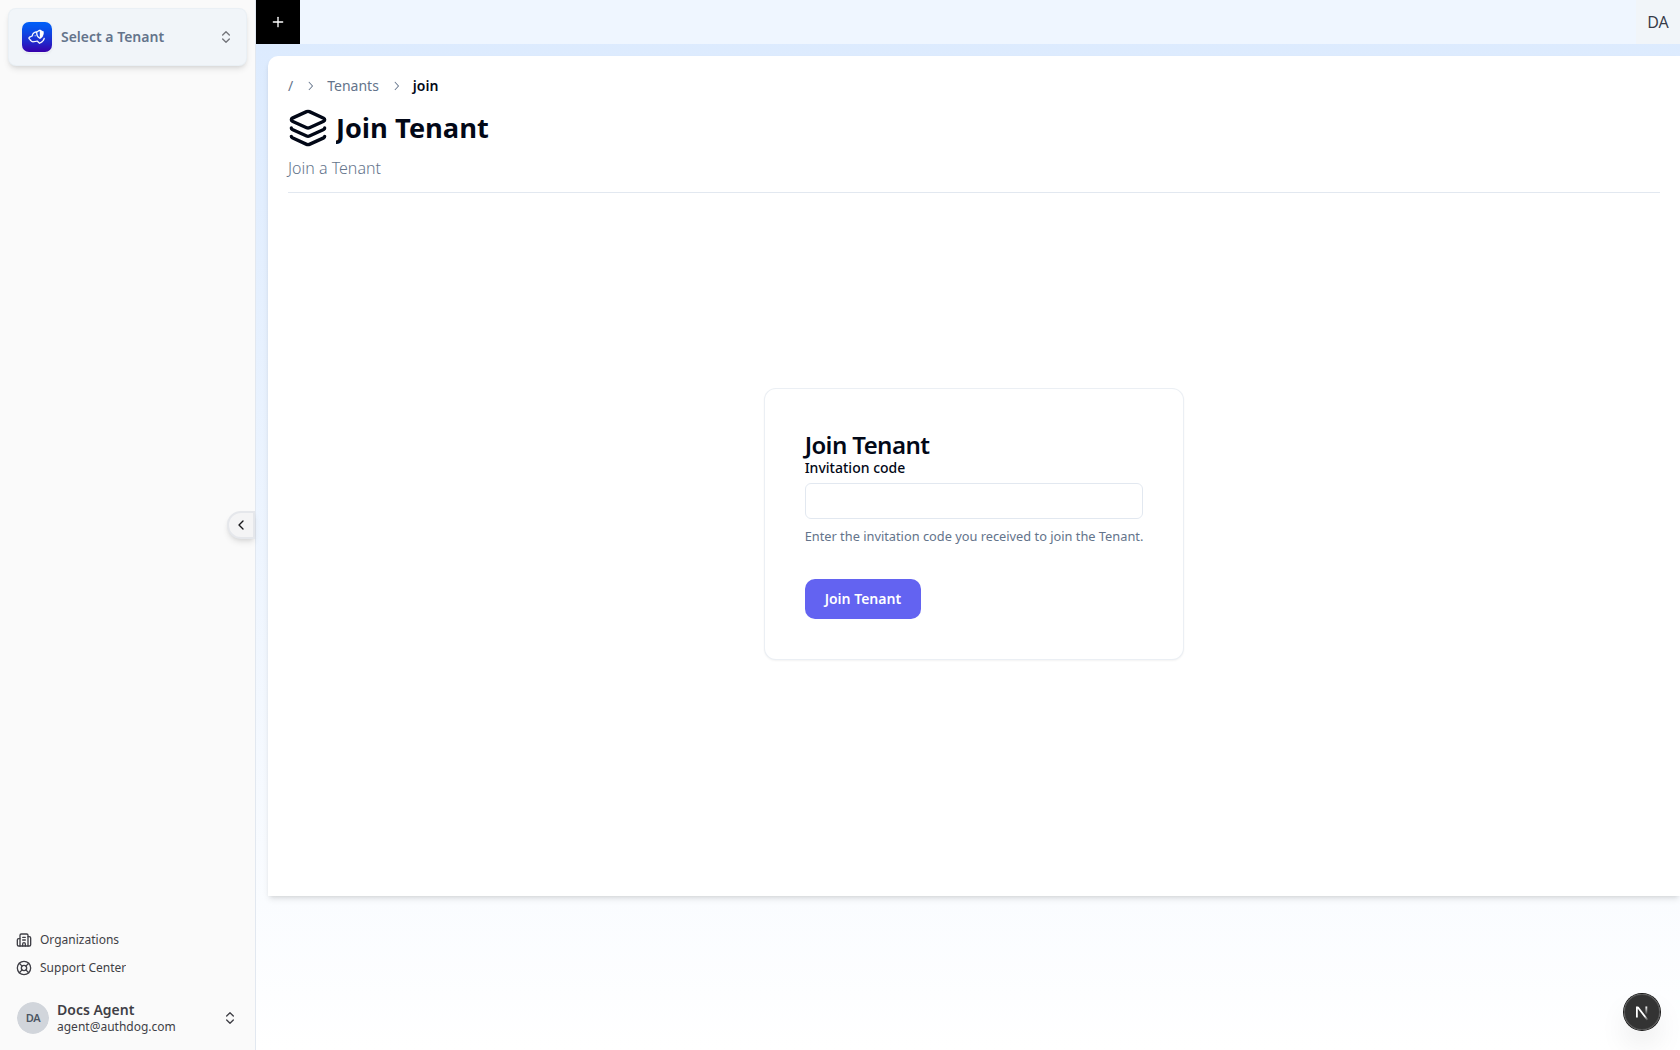
Click "Join Tenant" to request access to a tenant someone else created. Enter the invite code provided by the tenant admin and submit the form.
What happens next — Projects hub
Click a tenant card to select it. The console clears any previously selected project and environment, then redirects you to the Projects hub — the landing page you see after authenticating.
What you see on the Projects hub
The screen is split into two areas:
Sidebar (left)
The sidebar shows:
- Tenant switcher at the top — displays the active tenant name, its plan badge (e.g. "Free Tier"), and lets you switch tenants.
- Projects list — all Web projects (terminal icon) and MCP servers (bot icon) belonging to this tenant. Click any project here to select it and jump directly to its Dashboard.
- Footer links — Organizations, Support Center, Tenant Settings (owner only).
- User profile — avatar, name, and email at the very bottom.
Main content area
The header reads "Projects" with the subtitle "Browse your projects and MCP servers in one place." A breadcrumb trail shows / > Tenant Name.
Below the header:
- View toggle (top-right) — switch between a card grid and a table list view.
- Filter tabs — three tabs to narrow the list:
- All — every project and MCP server, with a count badge.
- Web — only web application projects, with a count badge.
- MCP — only MCP (Model Context Protocol) servers, with a count badge.
What happens when you click a project
Clicking a project card (or table row):
- Sets the project as the active application in the global store.
- Selects an environment — the pinned environment if one exists, otherwise the first environment.
- Navigates to the Dashboard where the full analytics grid loads.
At this point the sidebar navigation expands to show all console modules (Overview, Dashboard, Users, Audit, Security, Secrets, Branding, Templates, Flows, Settings) contextualized to the selected project and environment.
Related
| Read | To learn how to |
|---|---|
| Dashboard | See the analytics dashboard after selecting a project |
| Overview | Find project credentials and environment details |
| Organizations | Group multiple tenants under shared billing and administration |
| Settings | Configure project details within a tenant |